Compute Environments
Compute Environments is where admins will setup their compute engines. Based on the requirements and the data size you will be able to choose between the supported compute engines in Xceed Analytics.
These are the supported environments based on the services such as pipeline and SQL parser.
- Pipeline : Under pipeline you will be able to choose between Spark and Pandas and in future releases you will be able to select Dask as well.
- SQL : Under SQL you will be able to choose between Spark SQL , DuckDb.
You will see more as you follow along the documentation.
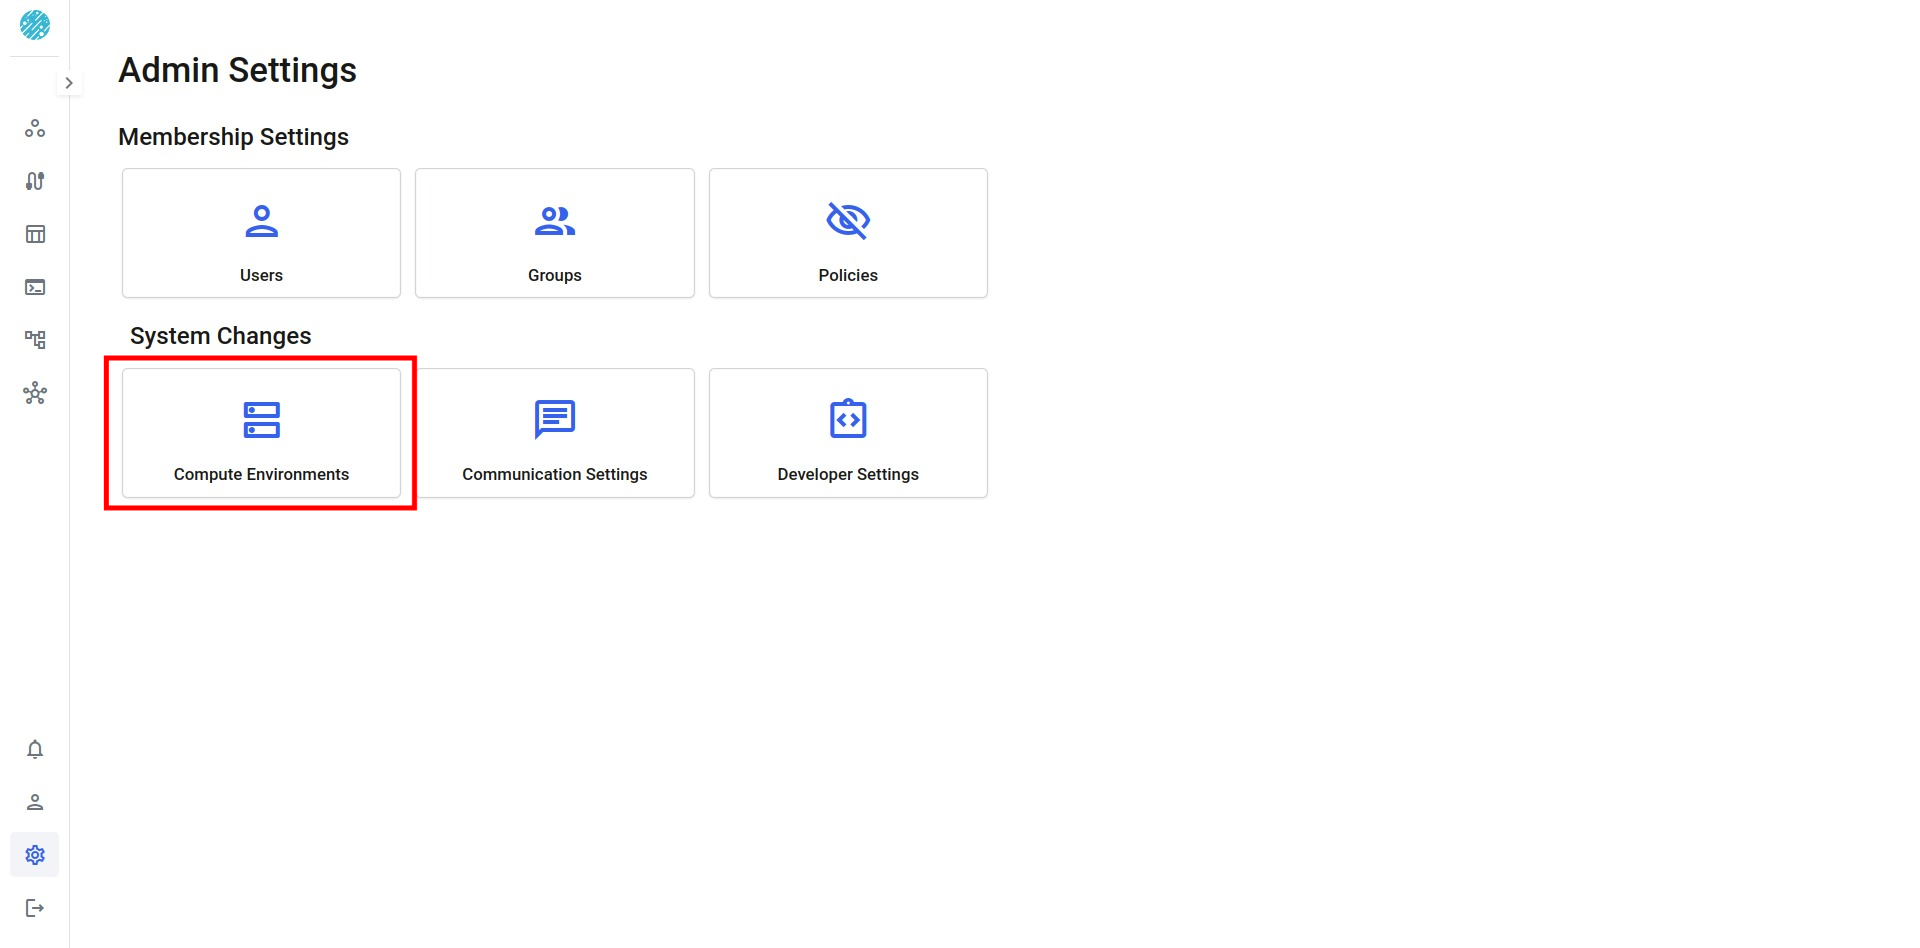
Click on the Compute Environments under System Changes
When you land on the main page of the Compute Environment you will see a table and the following contents
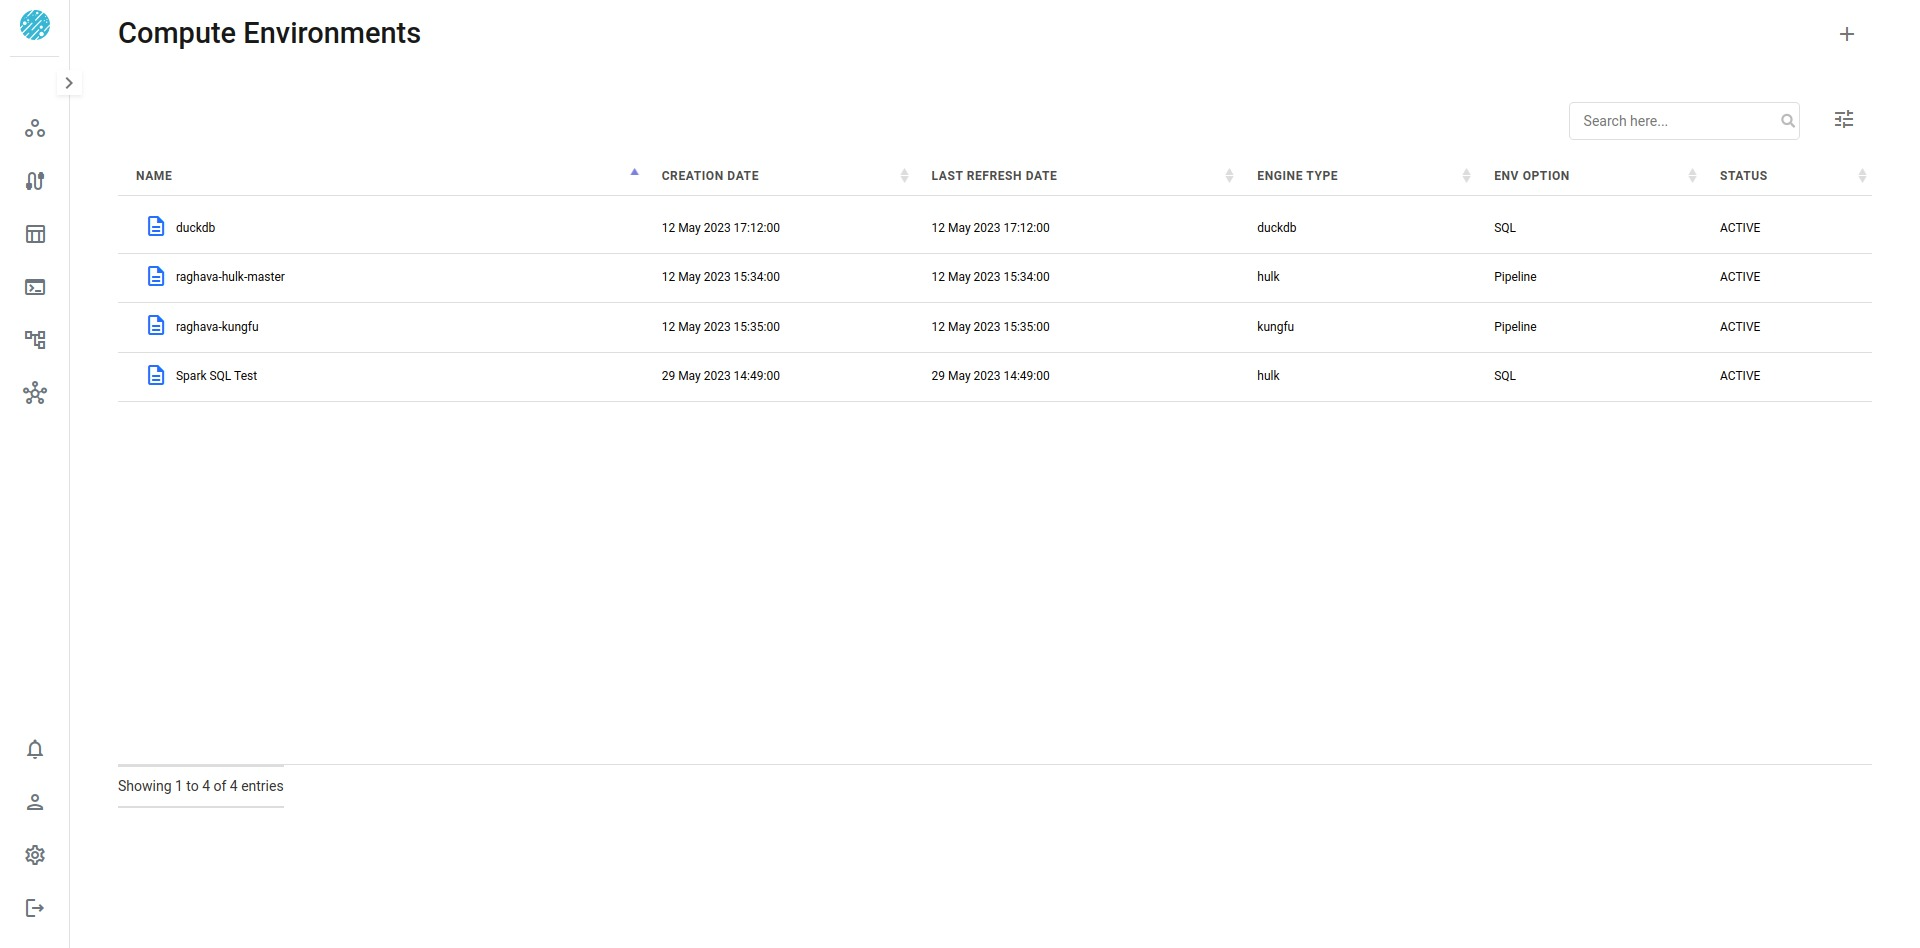
- Name : Name you will be giving for the compute environment
- Created Date : The date you created the compute environment
- Engine Type : The type of engine. In Xceed Analytics , Compute Engines have different names such as , Pandas equivalent engine is called as kungfu and spark equivalent engine is called as hulk.
- Env Option : There are two types of Environment options that
can be chosen while creating a compute environment.
- SQL
- Pipeline
To create a Compute Environment , click on the + icon at the top right.
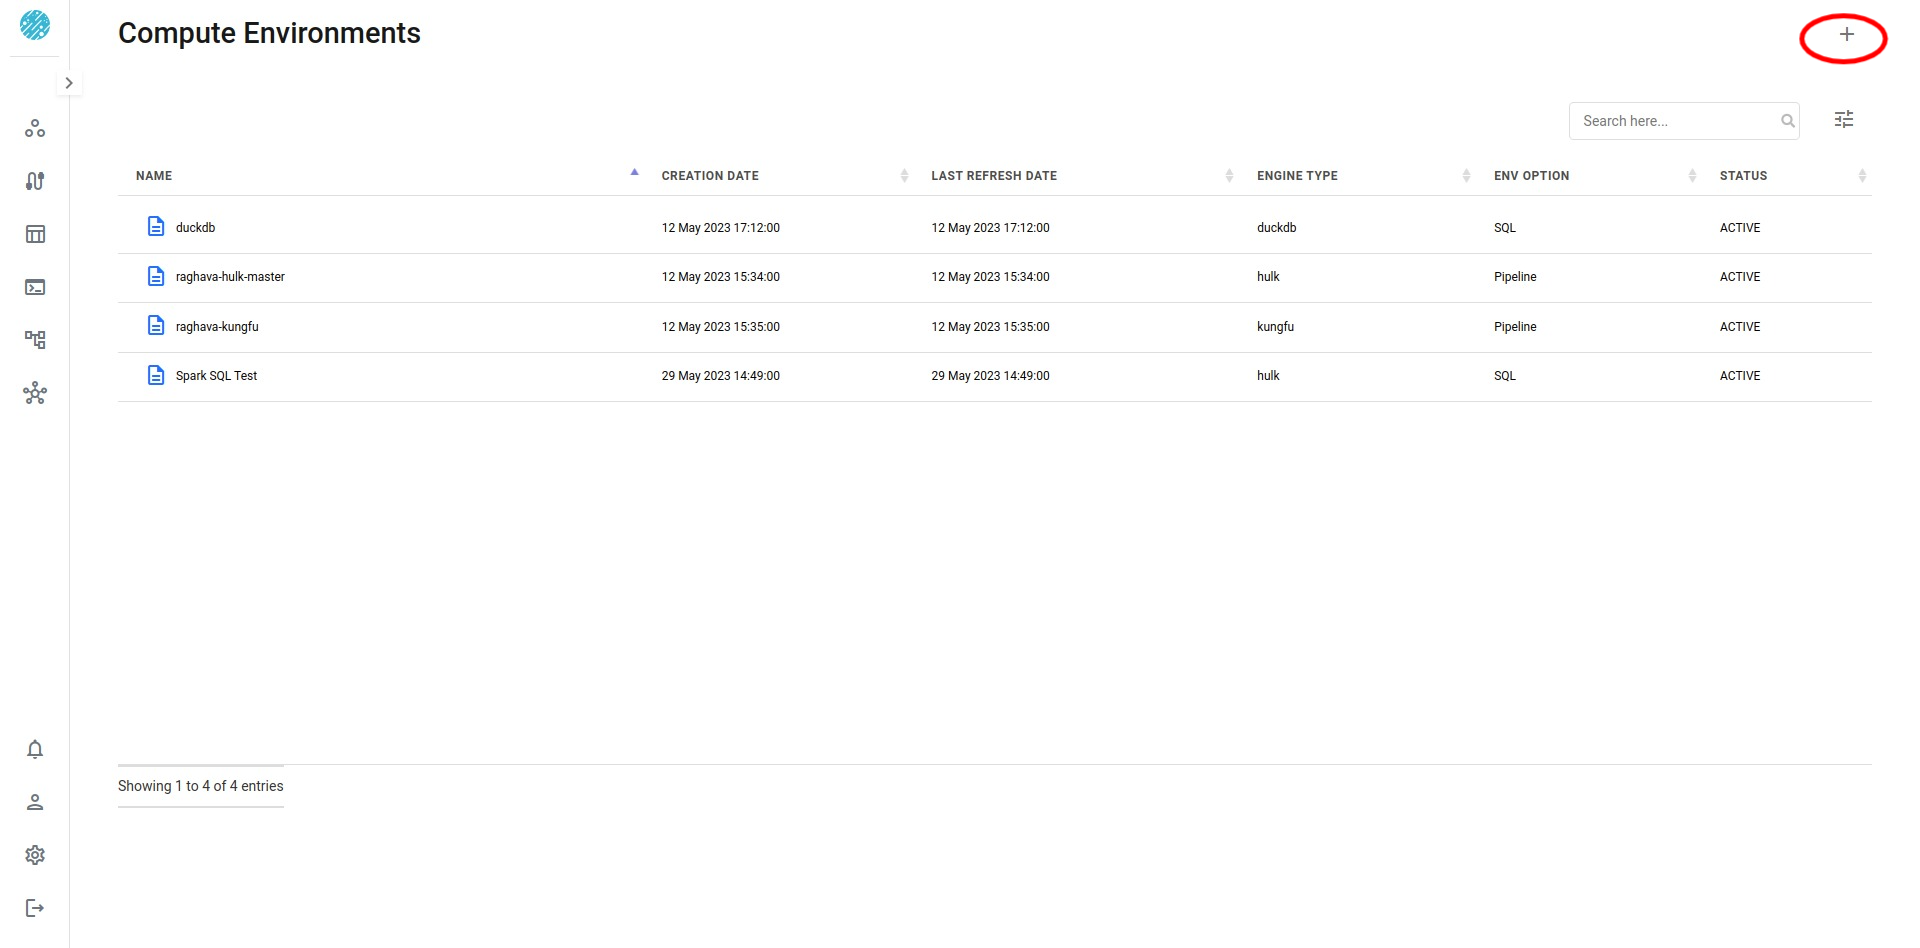
You will see a view coming up which will look like the one below
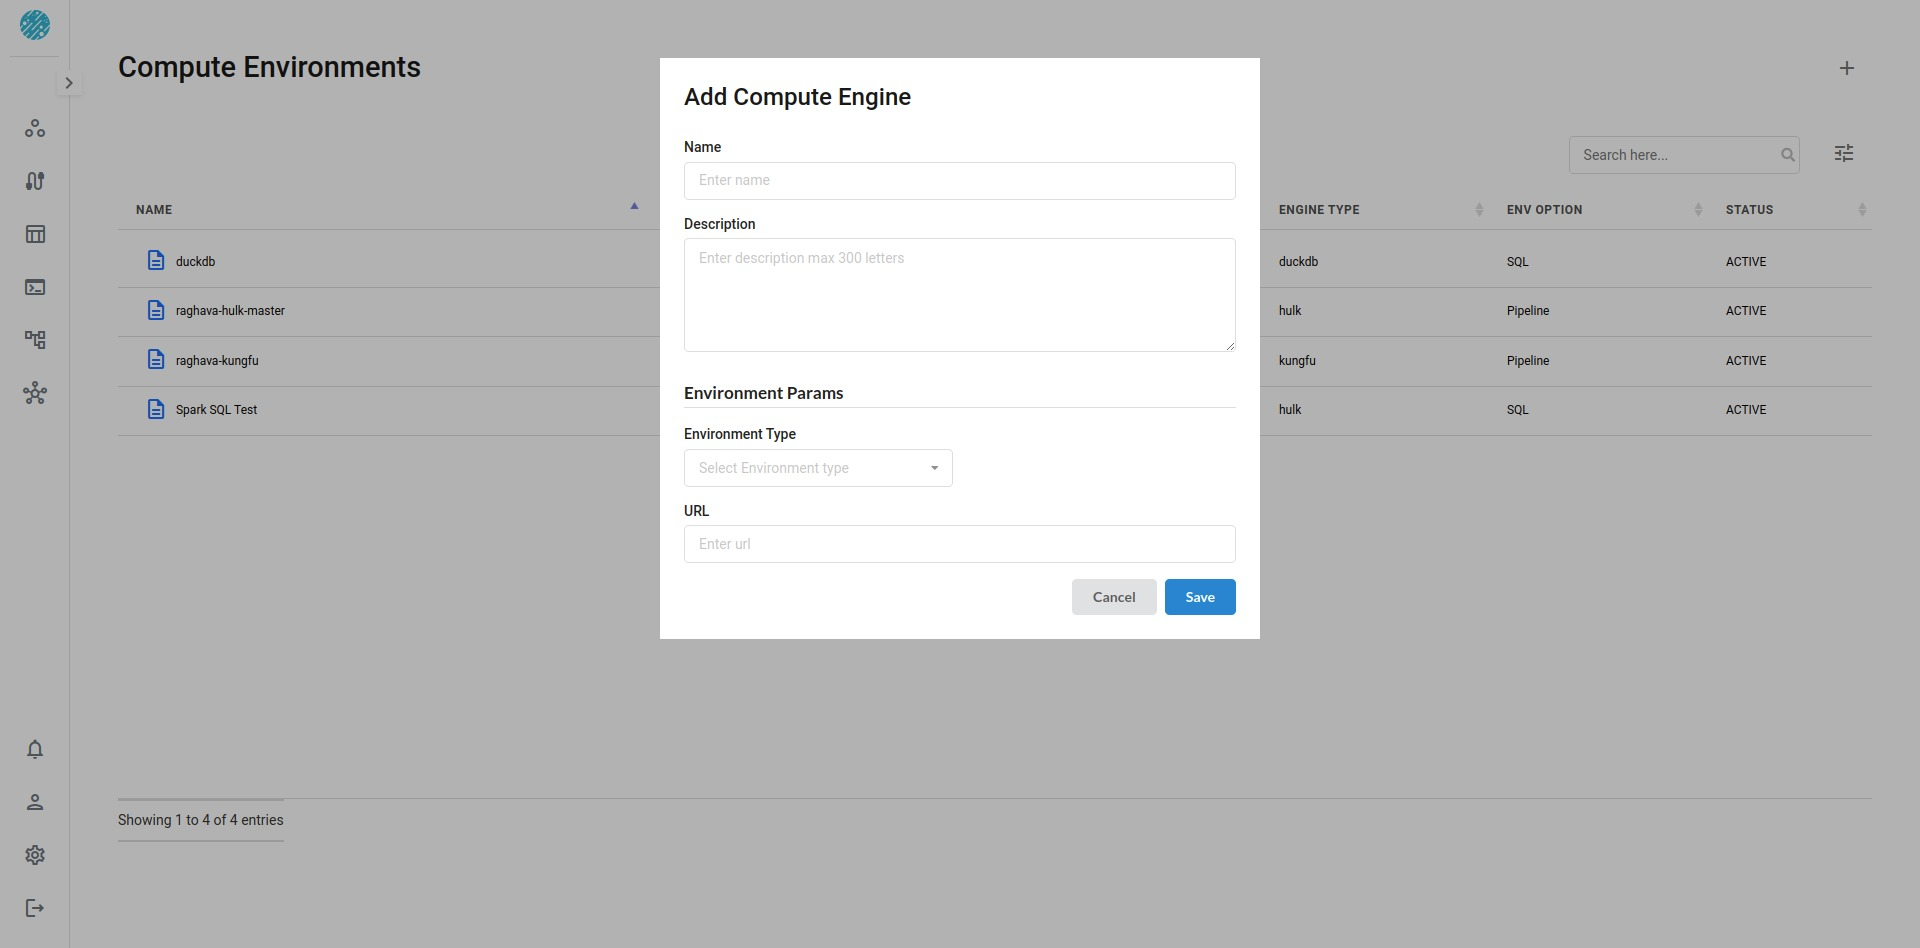
Parameters
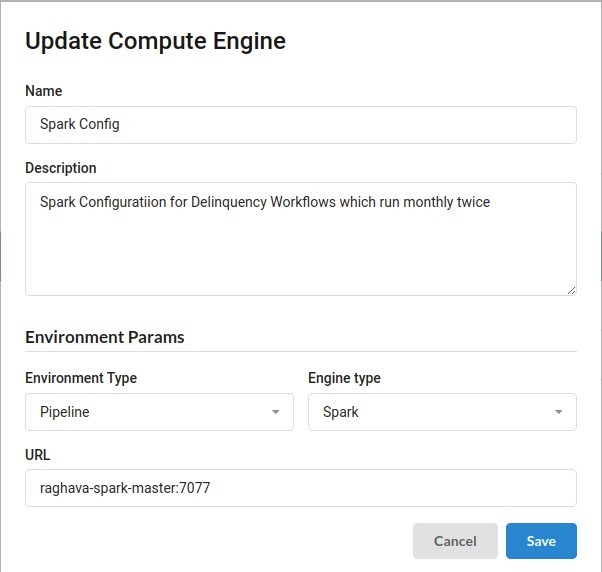
To create a Compute Engine , You will need to fill some parameters
- Name : Name of the Compute Engine
- Description : Write up a little about the compute engine .
- Environment Params : Parameters required for the Compute engine
such as :
- Environment Type : There are two type of environments you will
see in Xceed analytics. SQL and Pipeline.
Choose one of the Environments and you will see a new option coming up
to select the Engine Type.
- Based on the Environment , You will have options to choose from the supported Engine type.
- Environment Type : There are two type of environments you will
see in Xceed analytics. SQL and Pipeline.
Choose one of the Environments and you will see a new option coming up
to select the Engine Type.
- URL : Add your URL required for the engine type.
A filled step would look like the one below.
After filling all the parameters, Click on Save .You will see your engine listed in the main page